NON-DESTRUCTIVE TESTING (END)
The Non-Destructive Testing (NDT) include:
- Liquid Penetrant Testing (PT).
- Magnetic Particle Testing (MT).
- Ultrasonic Testing (UT).
- Visual Testing (VT).
Liquid Penetrant Testing
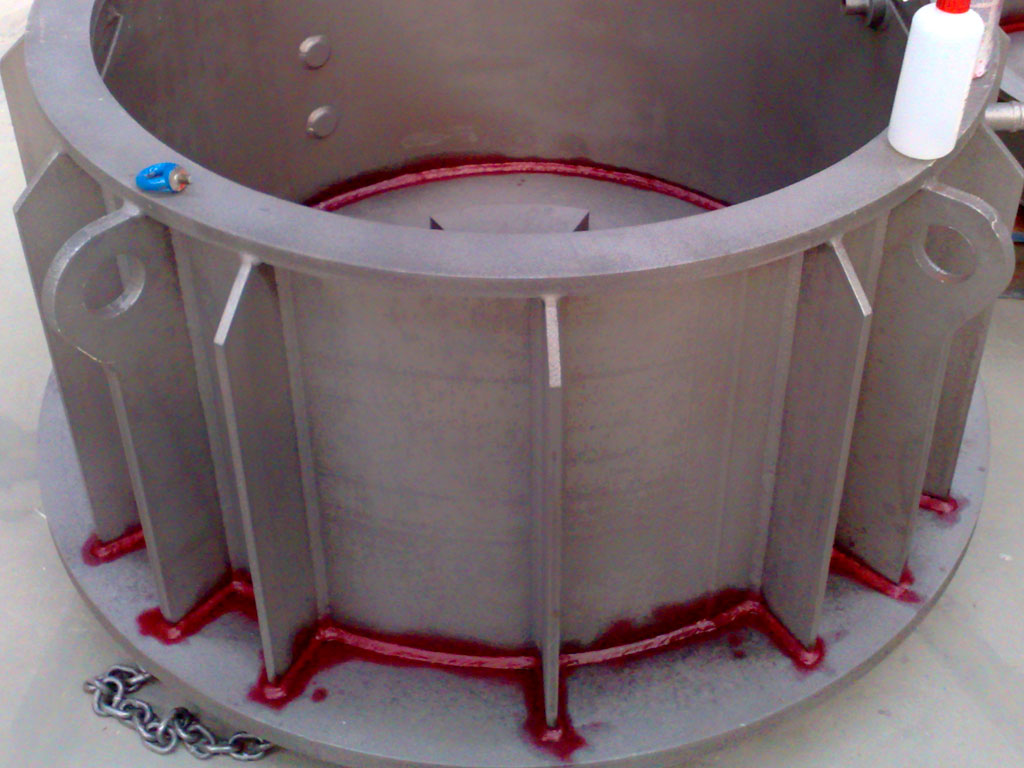
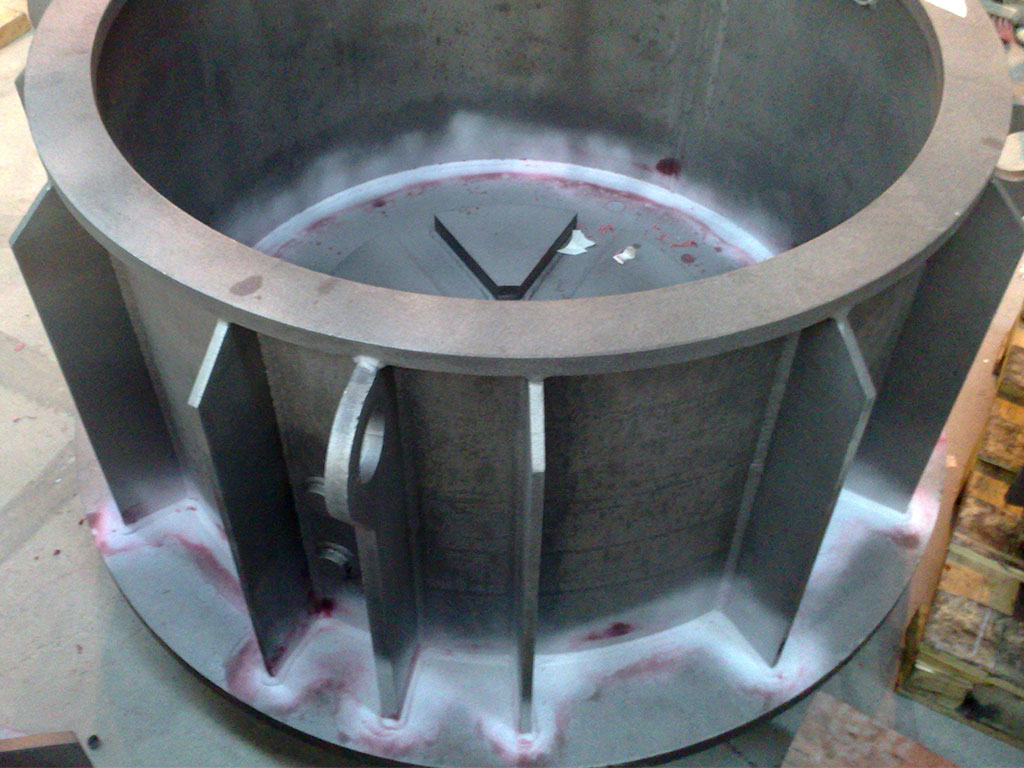
This Non-Destructive Testing is used to detect surface imperfections in non-porous materials, both metallic and non-metallic materials.
To do so, a highly wetting liquid is applied to the surface of the material to be tested. Thanks to the capillarity effect, this will penetrate into the discontinuities.
- Visible / Fluorescent.
- Water Removable / Solvent Removable Penetrants.
- Dry / Wet Developers
Advantages of this type of testing
- Results are practically immediate and easily interpretable.
- Can be used on ferromagnetic and non-ferromagnetic materials.
- Simple and easy method to perform in the field, as it does not require special equipment.
- It has no size limitation.
Magnetic Particle Testing
This NDT test is carried out in order to detect in a piece the possible discontinuities of the ferromagnetic materials that are both on the surface and in the vicinity of it.
The method is based on the attraction of a metallic powder applied on the surface towards the discontinuities of the material under the action of a magnetic field.
This test may be valid in certain circumstances where pieces are painted or primed.
Advantages of this type of testing
- They are faster and more sensitive than those made with liquid penetrant testing.
- Results are obtained immediately.
- The size of the piece to be applied does not determine the inspection.
- Can be used in components with certain coatings.
- The piece cleaning is not as critical as in other liquid penetrant tests.
Ultrasonic Testing
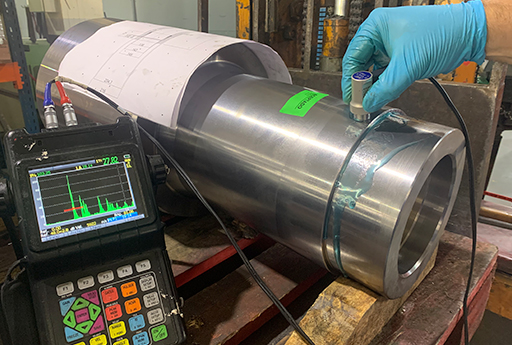
It is a method based on the reflection of acoustic waves when they encounter discontinuities in their propagation.
This type of test must be carried out to control that there is no type of crack in the structure of an object. For this reason, they are carried out both during the construction process and during quality control processes.
But an ultrasound test does not only have this function. These non-destructive tests are also performed to measure thickness or to identify interfaces that have been cast or welded.
With the portable equipment we have, we have excellent inspection and utility capabilities for a wide variety of applications. With the use of this equipment we ensure the detection of defects, including the dimensioning and measurement of hidden cracks, voids, dissolved parts and similar discontinuities in welds.

Advantages of this type of testing
- It allows the location of defects in depth, while facilitating the repair process.
- A permanent electronic record of inspections performed can be generated.
- Increases clearly the probability of detection.
Visual Testing
Visual inspection is a method used in non-destructive testing, generally in easily accessible areas on the analysed objects.
It allows timely detection of surface level defects in all stages of the manufacturing or maintenance process of the facilities.
To carry the test out, correct illumination of the surface to be examined is necessary, as well as that of the inspector’s entire field of vision.


Pol. Artzabaltza, 3 Pab. 48-49 20400 TOLOSA (Gipuzkoa) SPAIN
Navigation
certifications


 666 401 254